
Continuing the series on Selling Your Information Security Team, it’s now time to start building the Utility Virtual Machine that will host all the support programs and applications used in the demonstration. This post will cover building that very importation Swiss Army Knife of the demonstration … the Utility Virtual Machine. In Part 2 of this series, we built the host environment and defined the two networks joined by the firewall. Then in Part 3 we build the firewall to join the previously defined networks together.
Building the Utility VM: the OS
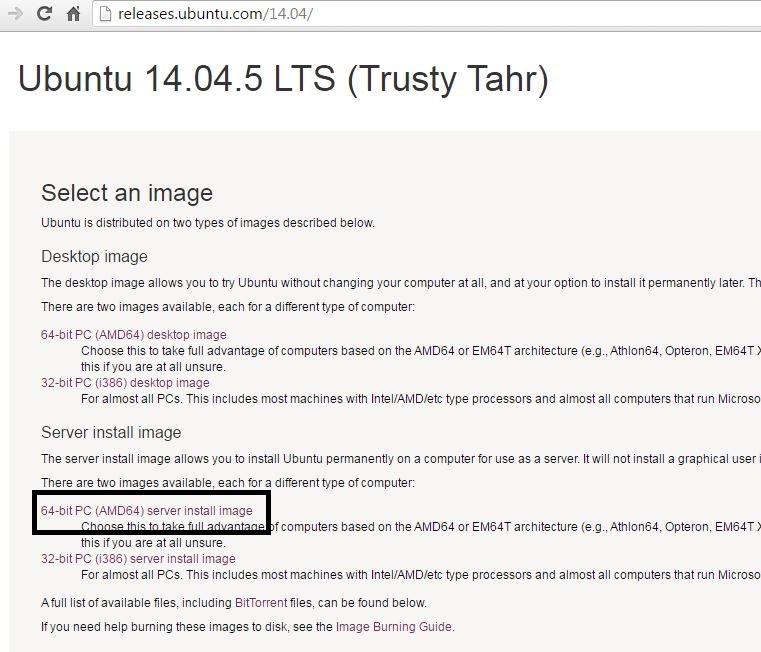
In similar fashion to the Firewall Build, we start by downloading the host operating system, Ubuntu 14. Go to http://releases.ubuntu.com/14.04/ and download 64-bit PC (AMD64) server install image:
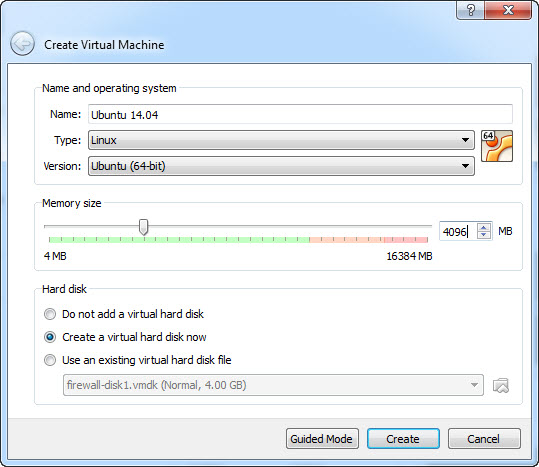
Once the Ubuntu server image is downloaded make sure to check the hash that is published on the Ubuntu webpage. If the hash validates then we once again create a new Virtual Machine in VirtualBox. Since this VM will be housing a number of utility applications and the center piece of the demo: Splunk, we need to increase the memory to allow for a smooth run time. Increase the memory to 4096 Mb and then move on to create the VM Drive. Create a drive with 12 Gb of space taking all the other defaults and press Create.
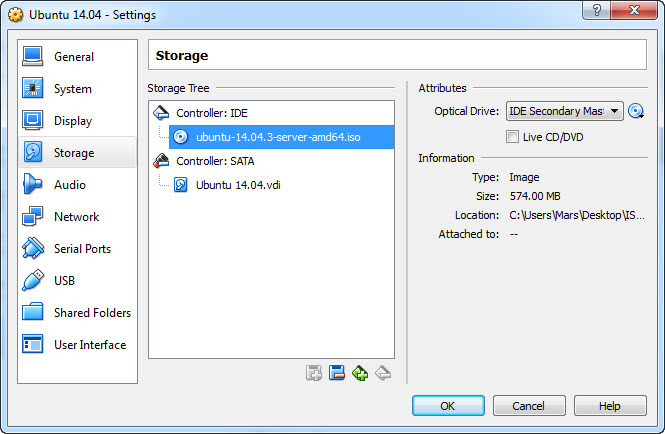
Now, mount the downloaded Ubuntu server image in Settings -> Storage so the VM will boot from the image. Leave the Network Adapter as NAT for the moment. We will fully patch the OS, download any needed tools and when finished we will move the VM into the proper network in the demo.
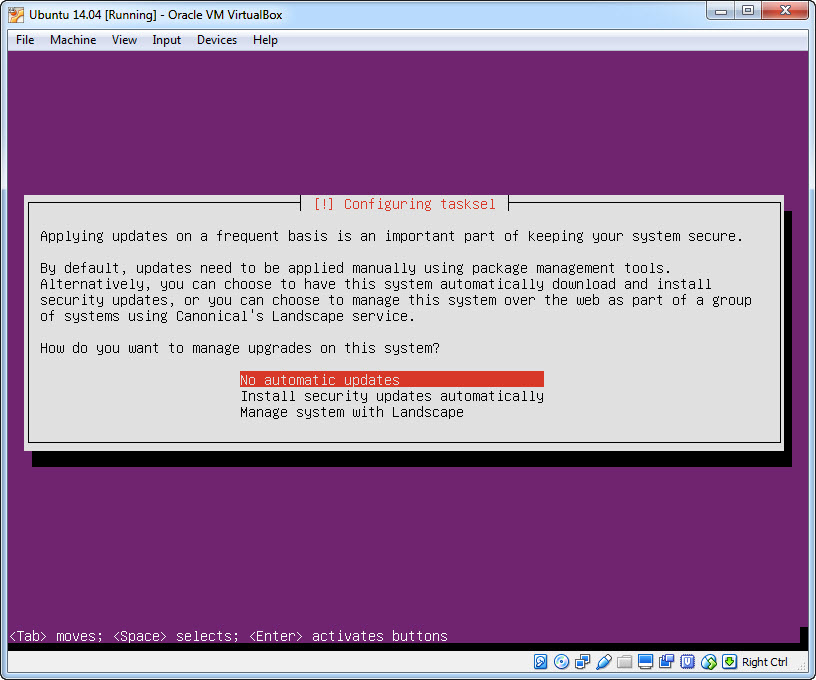
When the install image boots, almost all default settings are used. When asked how you want to manage updates to this system, choose No automatic updates. The reason is, once the demo is built and stable, we don’t want any updates to change that stability. If you need to later, you can apply updates, but do it carefully.
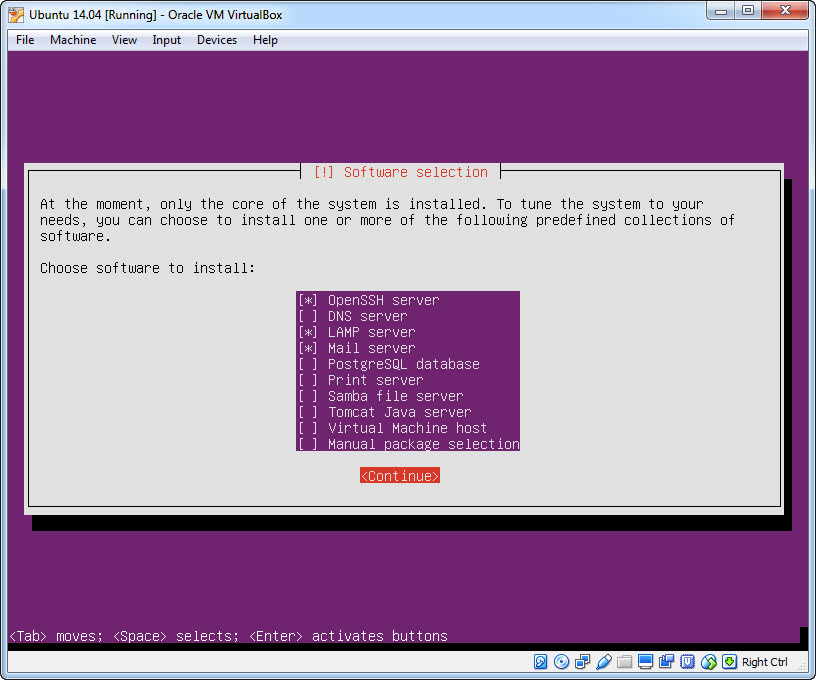
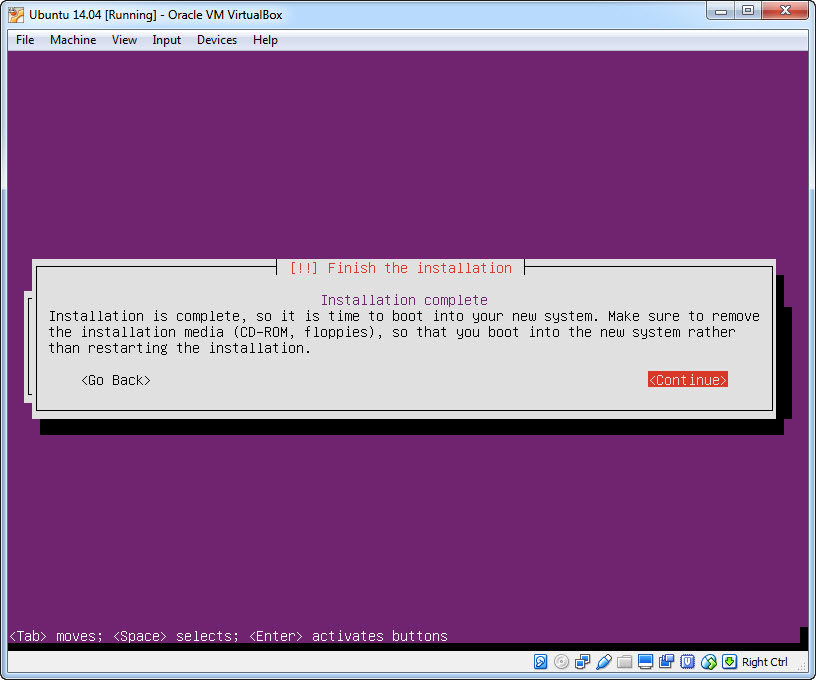
The next step is needed to support several of the applications that will be loaded later. The install script will ask which additional software packages you want to install; choose OpenSSH Server, LAMP Server, and Mail Server. When asked how you want to configure the Mail Server, select Local Only and also create a self-signed SSL Certificate for the DoveCot-Core Server. Continue taking the defaults and eventually you will complete the initial OS installation:
The VM will reboot and you will be prompted to login to the Ubuntu OS: use the user account you created during the install. Once you log in, we need to perform a full update and upgrade. Enter the following two commands:
sudo apt-get -y update
sudo apt-get -y dist-upgrade
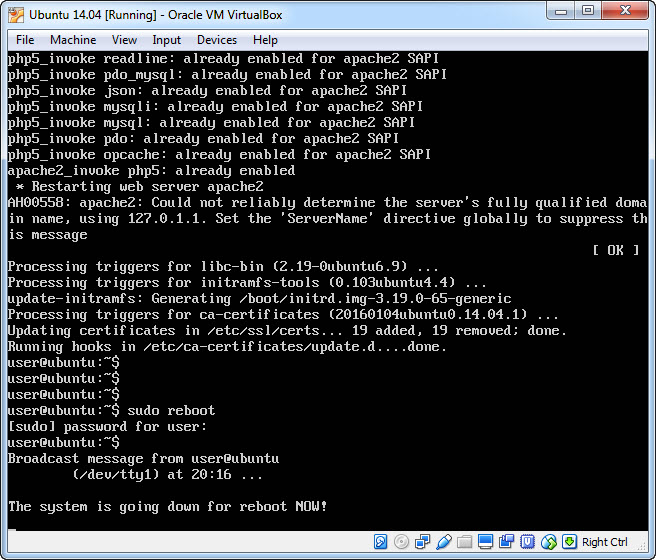
This will start the (possibly long running) upgrade process. If you are prompted for anything, take the defaults. Once that finishes, reboot the system using the command sudo reboot.
Installing Snort
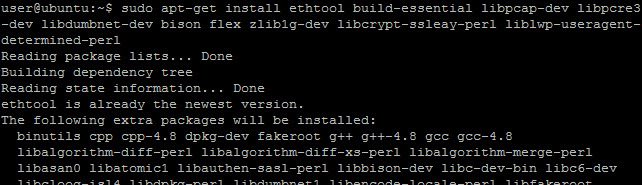
With the base operating system built, we move on to Snort. Snort is an open-source intrusion detection application. It has a large number of features (which we will not be using) including the ability to feed alerts into Splunk. We start by installing needed support packages:
sudo apt-get -y install ethtool build-essential \
   libpcap-dev libpcre3-dev libdumbnet-dev bison \
   zliblg-dev libcrypt-ssleay-perl \
   liblwp-useragent-determined-perl
Then we need to download two packages from snort.org: DAQ-2.0.6 and Snort-2.9.8.3. We can download them directly in the Utility VM by executing the following two commands:
wget https://www.snort.org/downloads/snort/daq-2.0.6.tar.gz
wget https://www.snort.org/downloads/snort/snort-2.9.8.3.tar.gz
Once downloaded, we install DAQ first. Execute the following commands to unpack, compile, and install DAQ:
tar -zxvf daq-2.0.6.tar.gz
cd daq-2.0.6
./configure
make
sudo make install
cd
The last command changes directories back to where we downloaded the files to. Now, we install Snort. Execute the following commands to unpack, compile, and install Snort:
tar -zxvf snort-2.9.8.3.tar.gz
cd snort-2.9.8.3
./configure
make
sudo make install
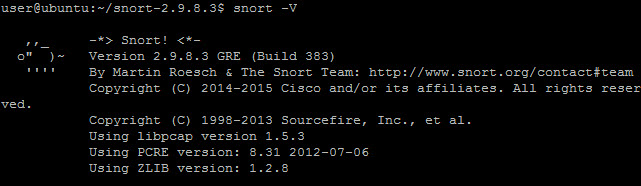
snort -V
The last command should validate the install with a screen similar to this:
Next we create a configuration file for the Snort IDS. This is a demonstration and we need to keep things simple, so the config file will be very simple. Edit the file /etc/snort/snort.conf with your favorite Linux editor (make sure you use sudo to edit this file as root) and enter the following three lines (delete any other lines if present):
alert tcp [your attacker's IP] any <> [your victim's IP] any \
    (msg: "Demo Alert"; sid 1000001;)
alert icmp any any -> any any (msg: "ICMP Test"; sid 1000002;)
output alert_fast: /var/log/alerts
My config file looked like this:
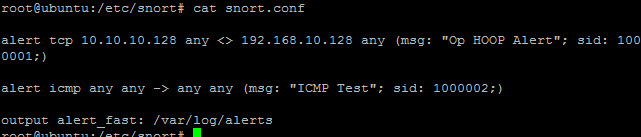
Line 1 is the main alert we will be using with Splunk. Line 2 is used to validate that Snort is working correctly. Line 3 defines the alert file that will be loaded into Splunk. That’s it, keep it simple.
The last thing for Snort is to make sure that when we reboot the Utility VM that Snort will start back up automatically. This is accomplished by creating a Snort service. Again use your favorite linux editor and create the file /etc/init/snort (make sure to use sudo because this file must be edited by root) with the following lines:
description "Snort NDIS Service"
stop on runlevel [!2345]
start on runlevel [2345]
script
exec /usr/local/bin/snort -q -u snort -g snort \
   -c /etc/snort/snort.conf -i eth0 -D
end script
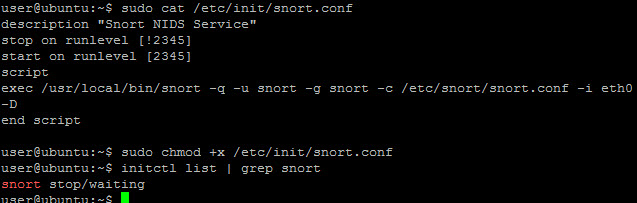
Once that file is created make it executable and then check to see if the file validates:
sudo chmod +x /etc/init/snort
initctl list | grep snort
You should see something similar to this:
Installing Webmail
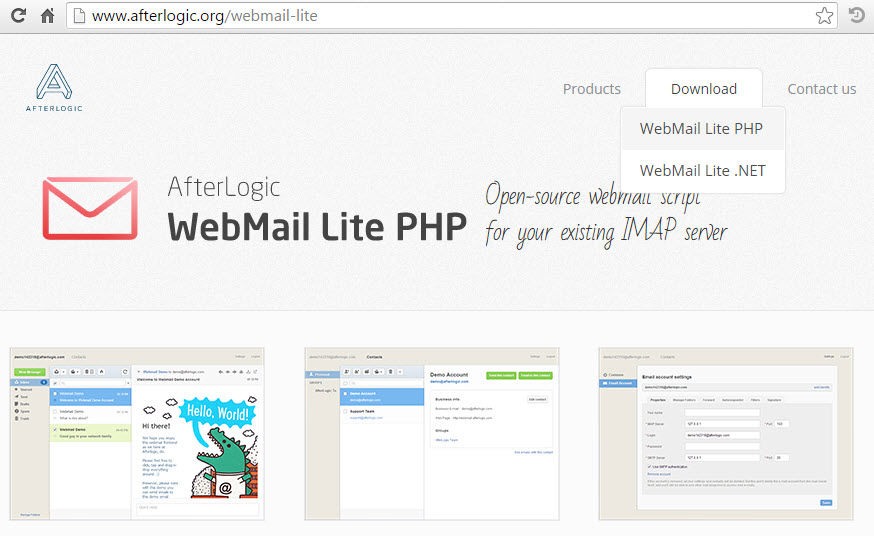
The next application to install is a WebMail service. This will be used by the victim to read the phishing email sent by the attacker (more on this in the wrap up post). Because we will be building a Windows 7 system at SP1 for the victim system, we need a simple WebMail service, so I chose After Logic WebMail Lite PHP. Download the standard package from http://www.afterlogic.com/webmail-lite.
Before we can install and run WebMail Lite, we need to install two additional packages in the Utility VM:
sudo apt-get -y install unzip php5-curl
Then unpack the webmail zip file into /var/www/html with the following command:
sudo unzip webmail_php.zip -d /var/www/html
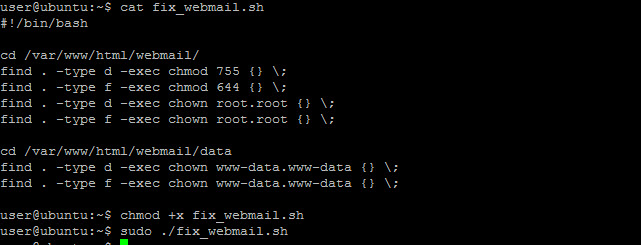
Permissions for the directories and files that are installed need to be fixed, so I created a quick script to update them (you could also just run these commands manually):
cd /var/www/ChaoticSecurity.com/public_html/webmail
sudo find . -type d -exec chmod 755 {} \;
sudo find . -type f -exec chmod 644 {} \;
sudo find . -type d -exec chown root.root {} \;
sudo find . -type f -exec chown root.root {} \;

cd /var/www/ChaoticSecurity.com/public_html/webmail/data
sudo find . -type d -exec chown www-data.www-data {} \;
sudo find . -type f -exec chown www-data.www-data {} \;
Open your browser on the host system and surf to http://[the utility VM’s ip]/webmail/install/
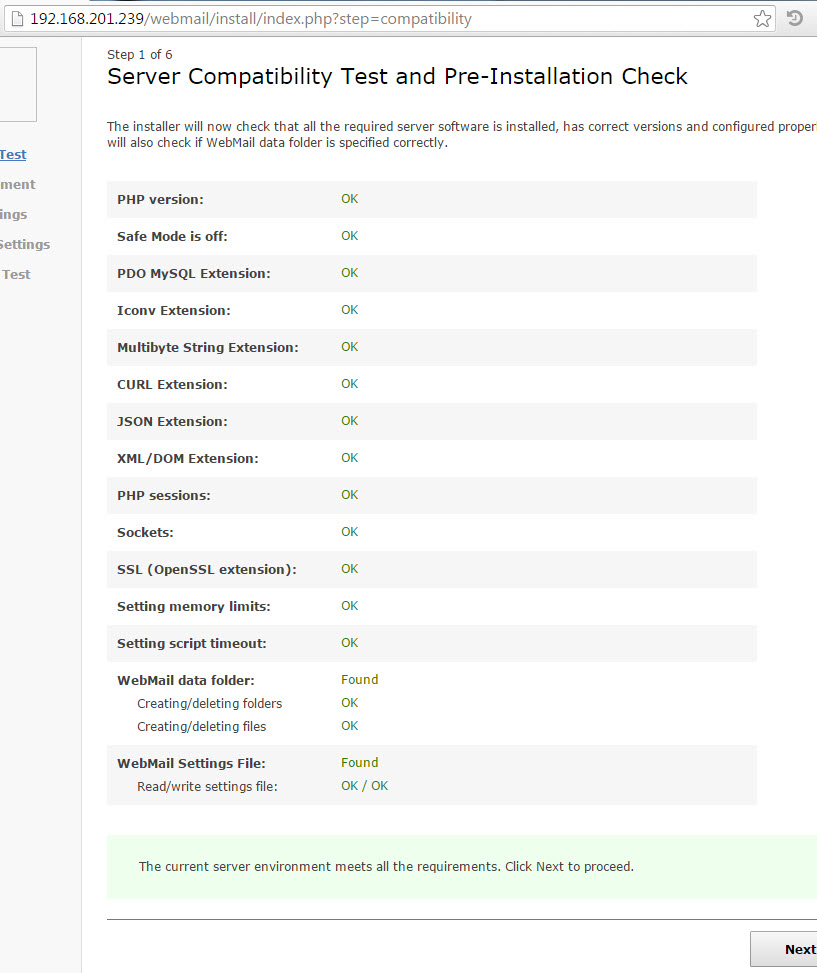
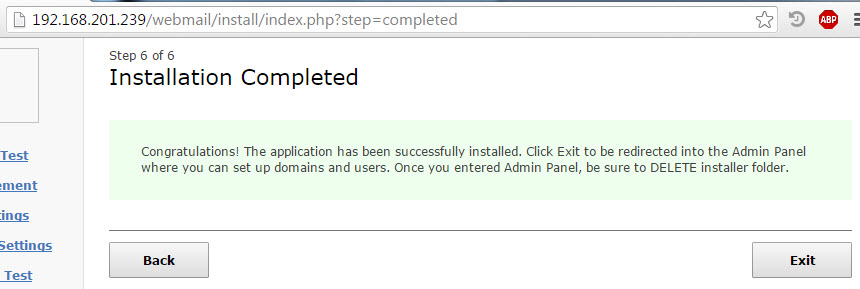
Follow the install wizard to complete the process.
Next Time
The Utility VM is the most complicated system in the demonstration. Next time we will continue building on the Utility VM by installing and configuring Splunk. This will form the center piece of the demonstration.
We covered a lot of technical steps in this post. Was there enough detail? Did I miss any critical steps. I tried to strike a balance between readability and usability, how did I do. Let me know in the comments.